- admin
How to Make Organic Henna Paste at Home: A Professional Henna Artist’s Recipe
If you’re wondering how to make organic henna paste at home, you’ve come to the right place. Whether you’re a beginner learning the art of henna or a professional henna artist looking for a reliable organic henna recipe, making your own fresh henna paste is the key to achieving smooth application and rich, dark stains.
This step-by-step guide shares the exact process we use to create fresh, high-quality henna paste.
Ingredients for Organic Henna Paste
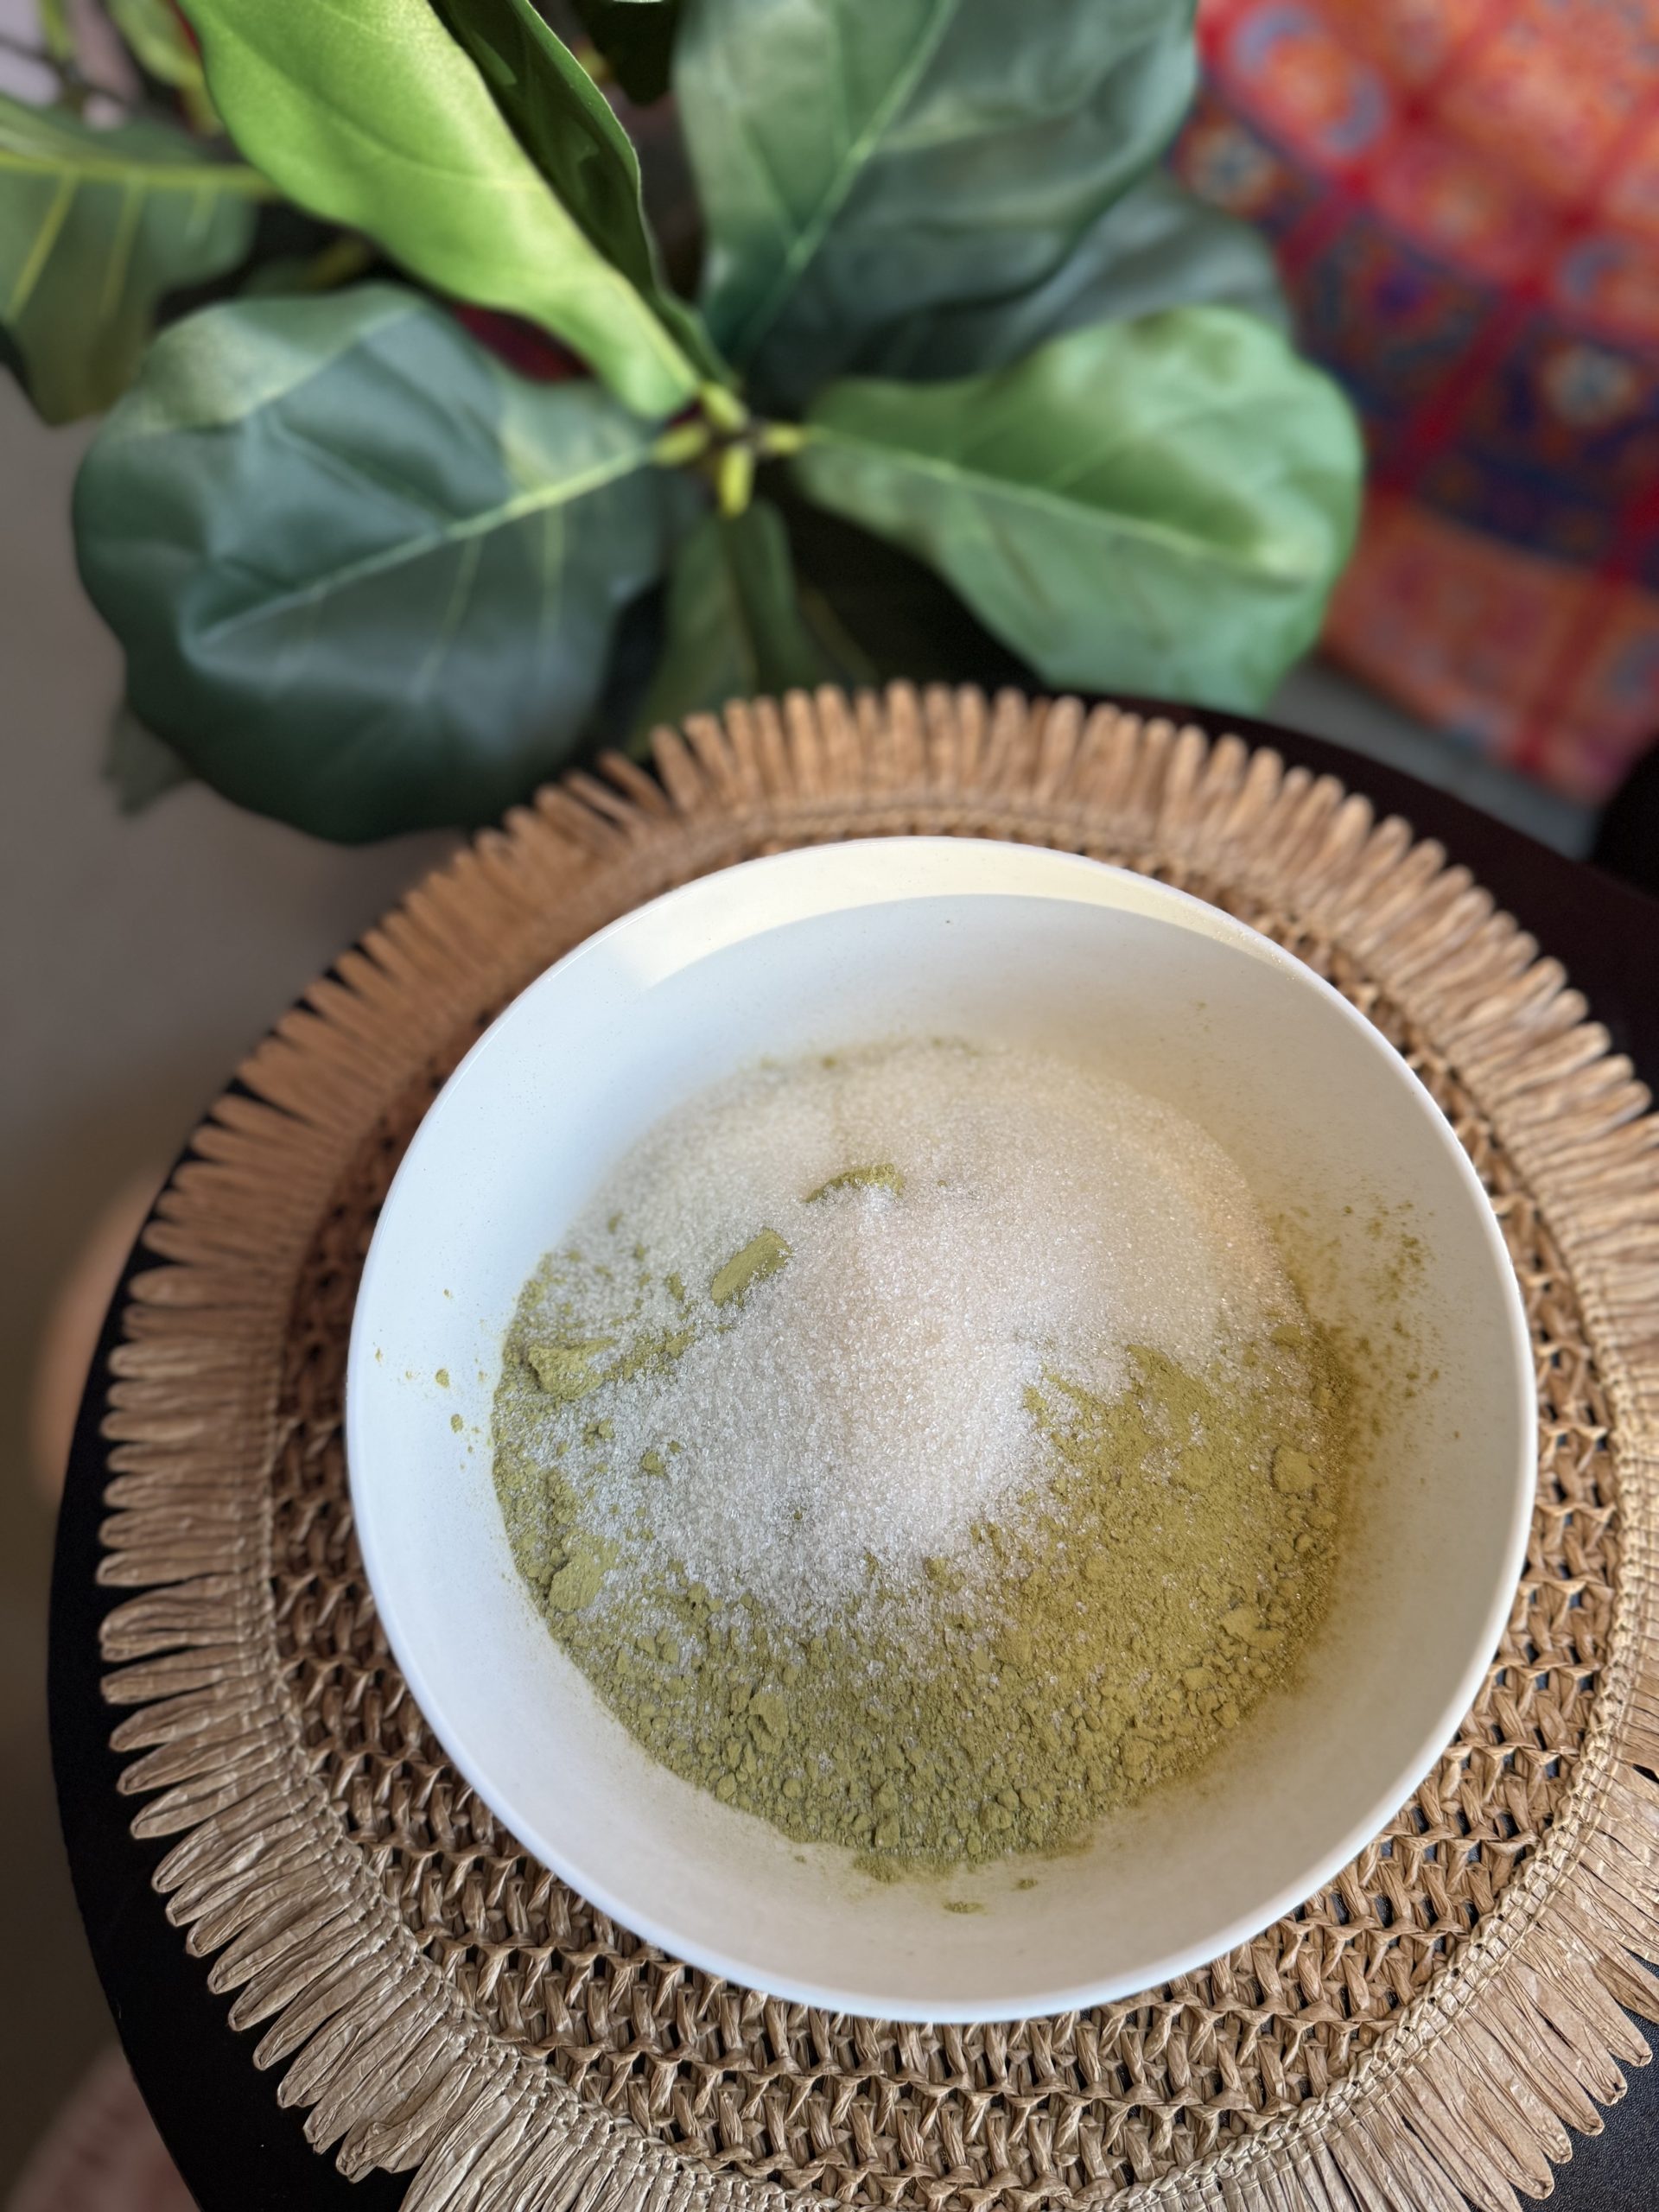
To make approximately 250–300 grams of organic henna paste, you will need:
- 100g high-quality, triple-sifted henna powder
- 35–40g sugar
- Liquid of choice: lemon juice, water, brewed tea, or a combination
- 30ml essential oils: eucalyptus, lavender, cajeput, or a blend of these oils
Using high-quality, finely sifted henna powder is essential for creating smooth henna cones and achieving a dark, long-lasting stain.
Step 1: Mix the Dry Ingredients
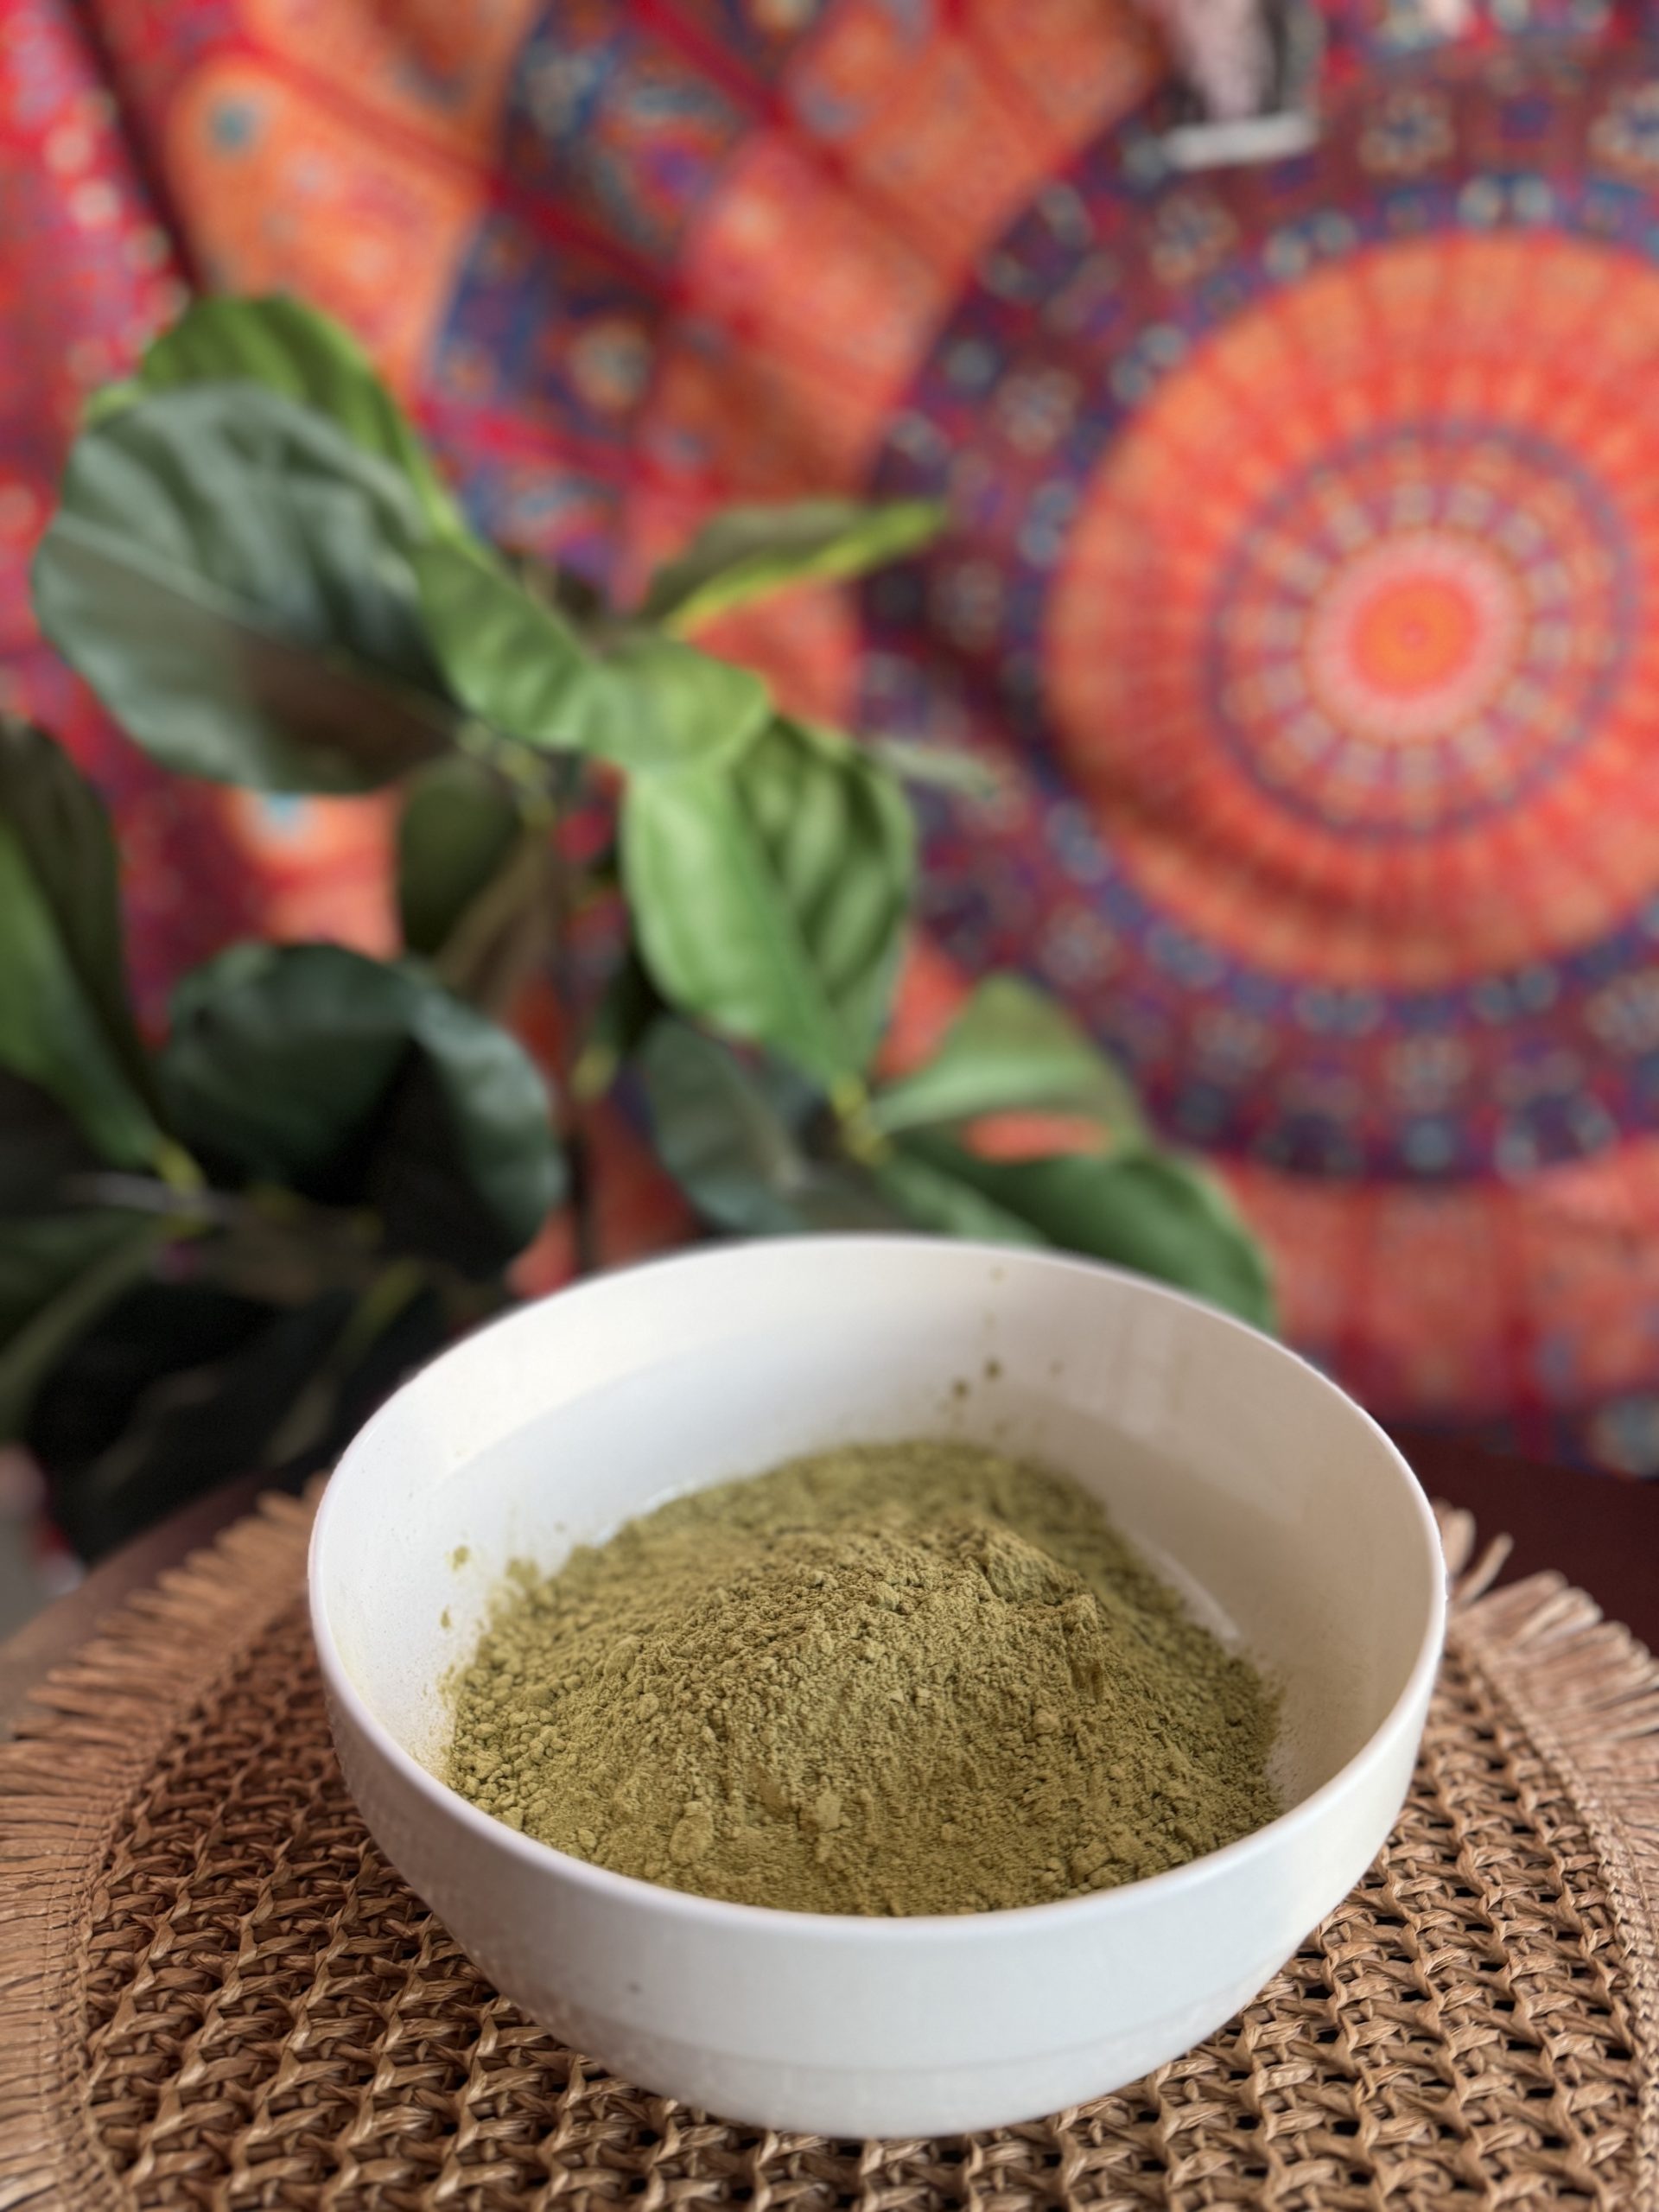
In a mixing bowl, combine:
- 100g henna powder
- 35–40g sugar
Mix thoroughly until the sugar is evenly distributed throughout the henna powder. The sugar helps improve the paste’s elasticity and allows the henna to stay moist on the skin longer.
Step 2: Add Your Liquids
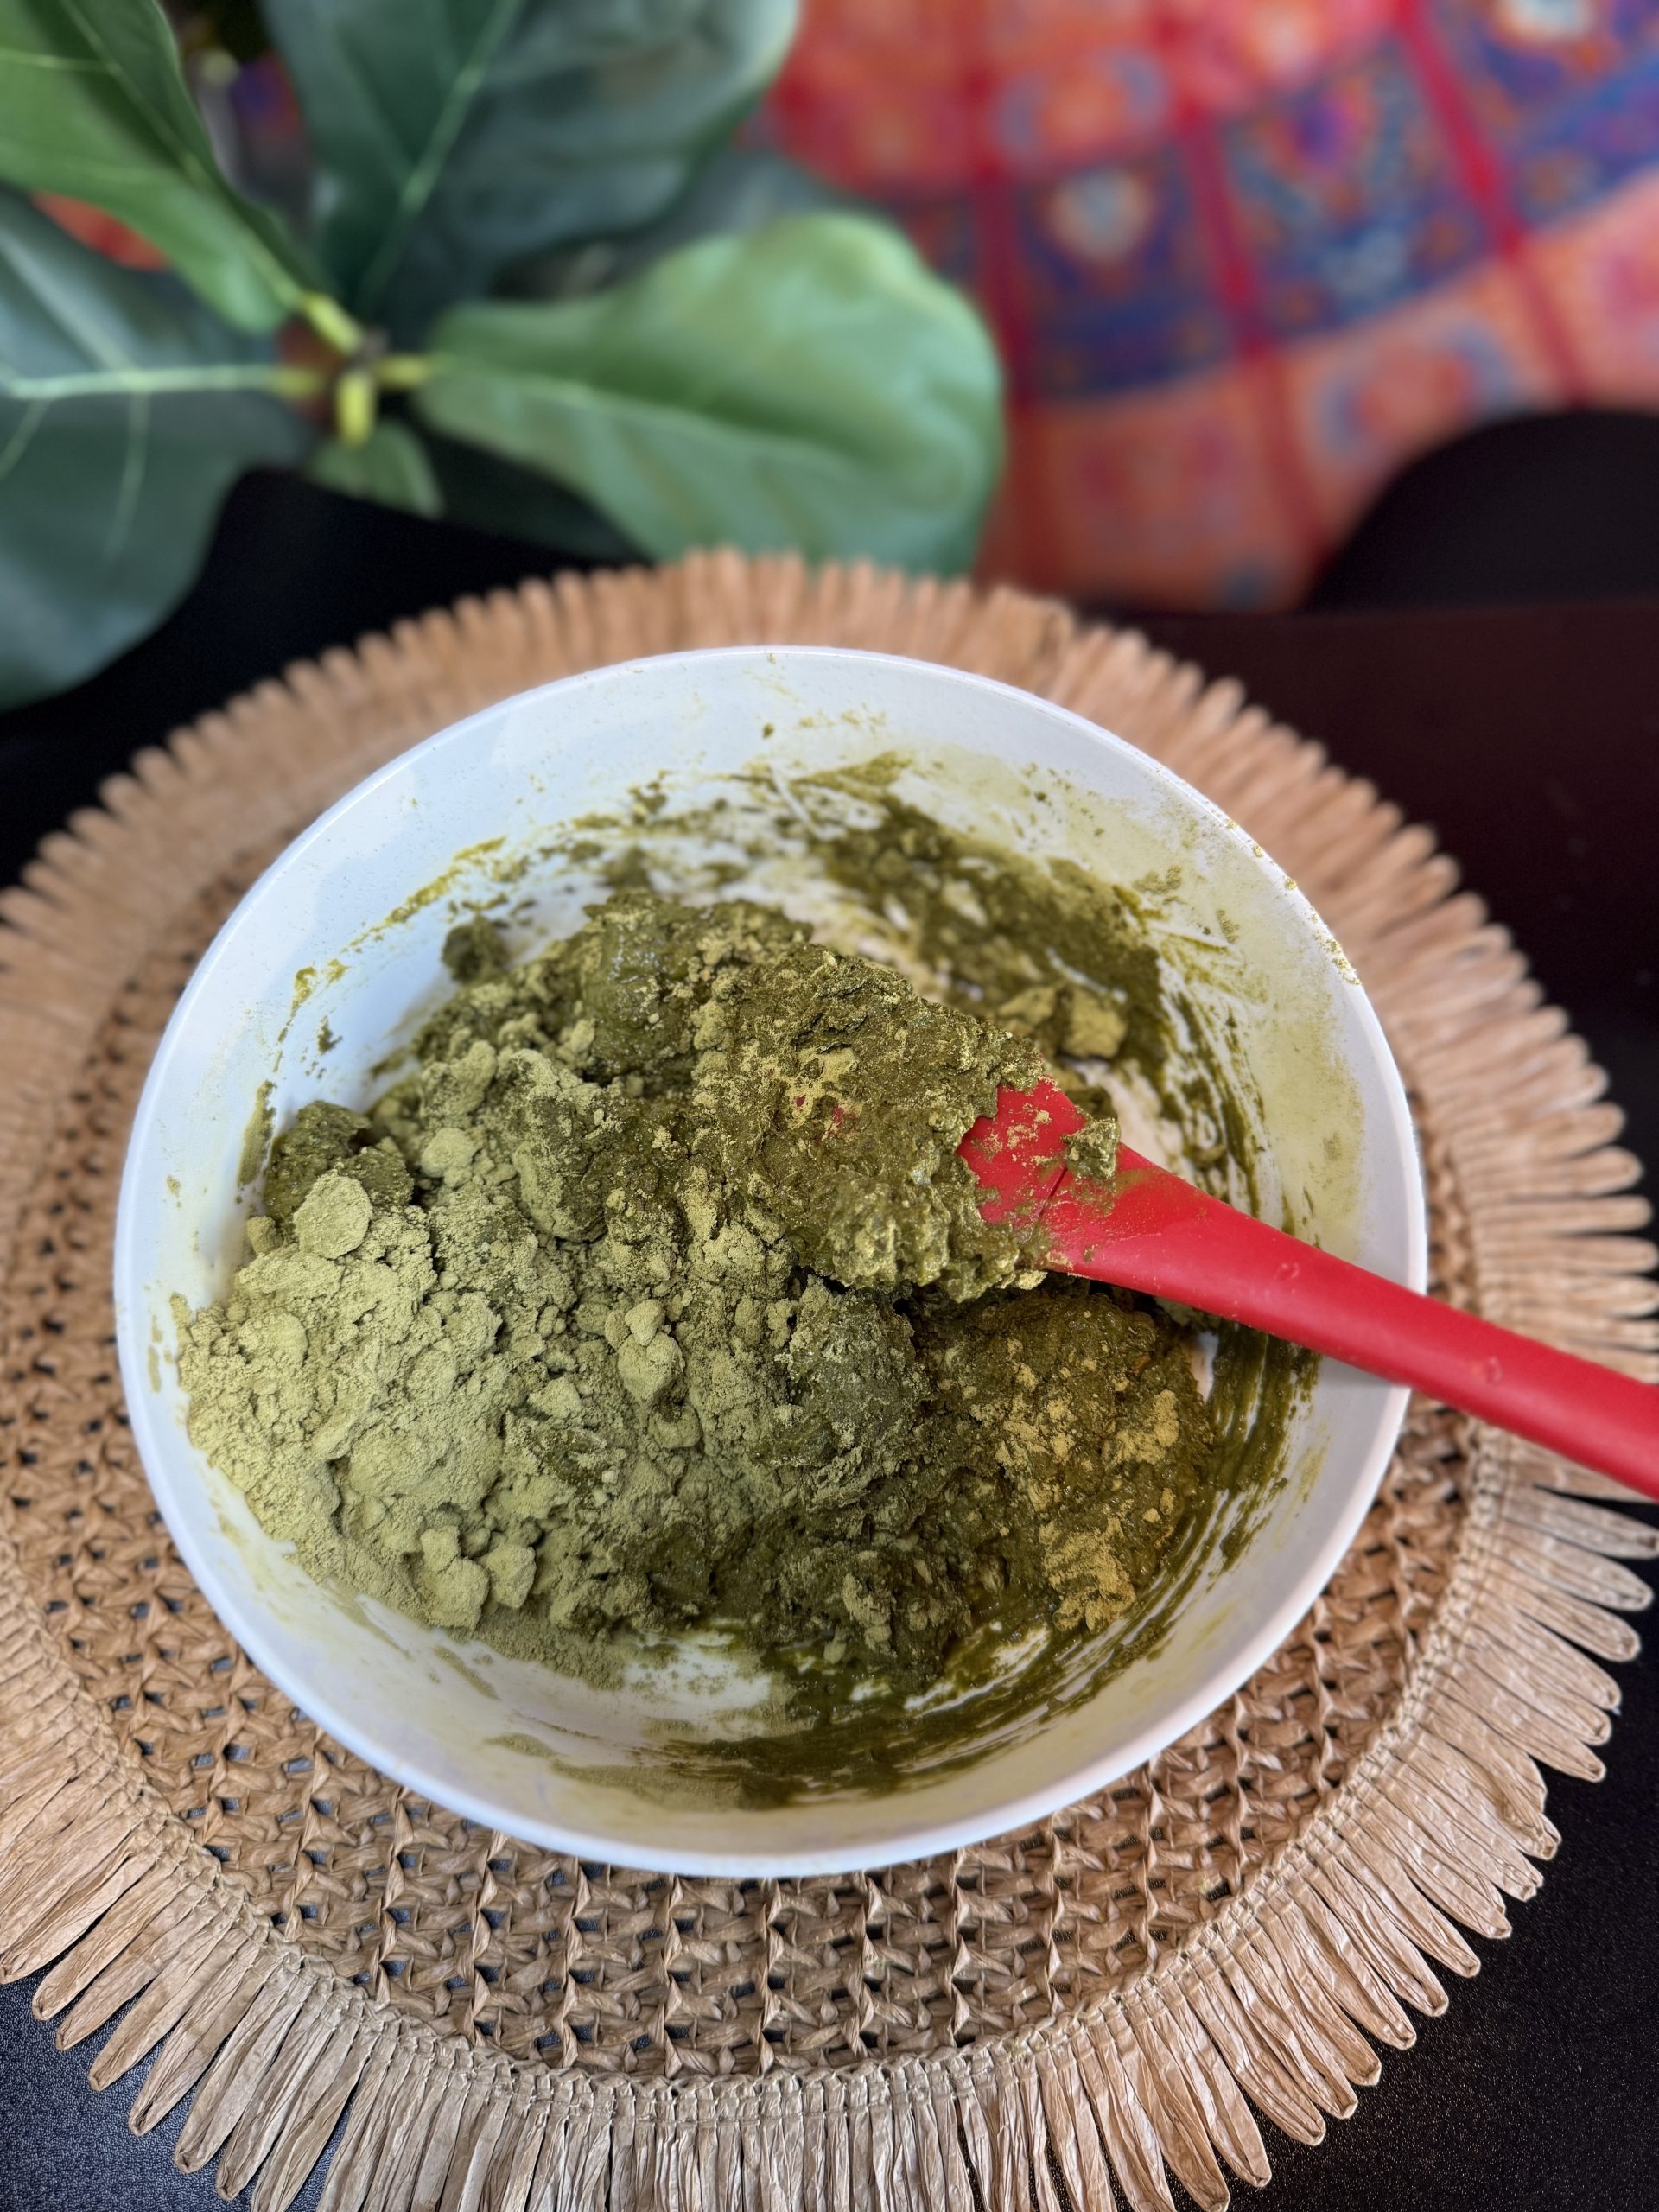
Slowly add your liquid mixture while stirring continuously. You can use any:
- Lemon juice
- Water
- Brewed tea
- Or a combination of all three
Add the liquid gradually until the paste reaches a thick mashed-potato consistency. Avoid making the mixture too thin at this stage.
Step 3: Add Essential Oils
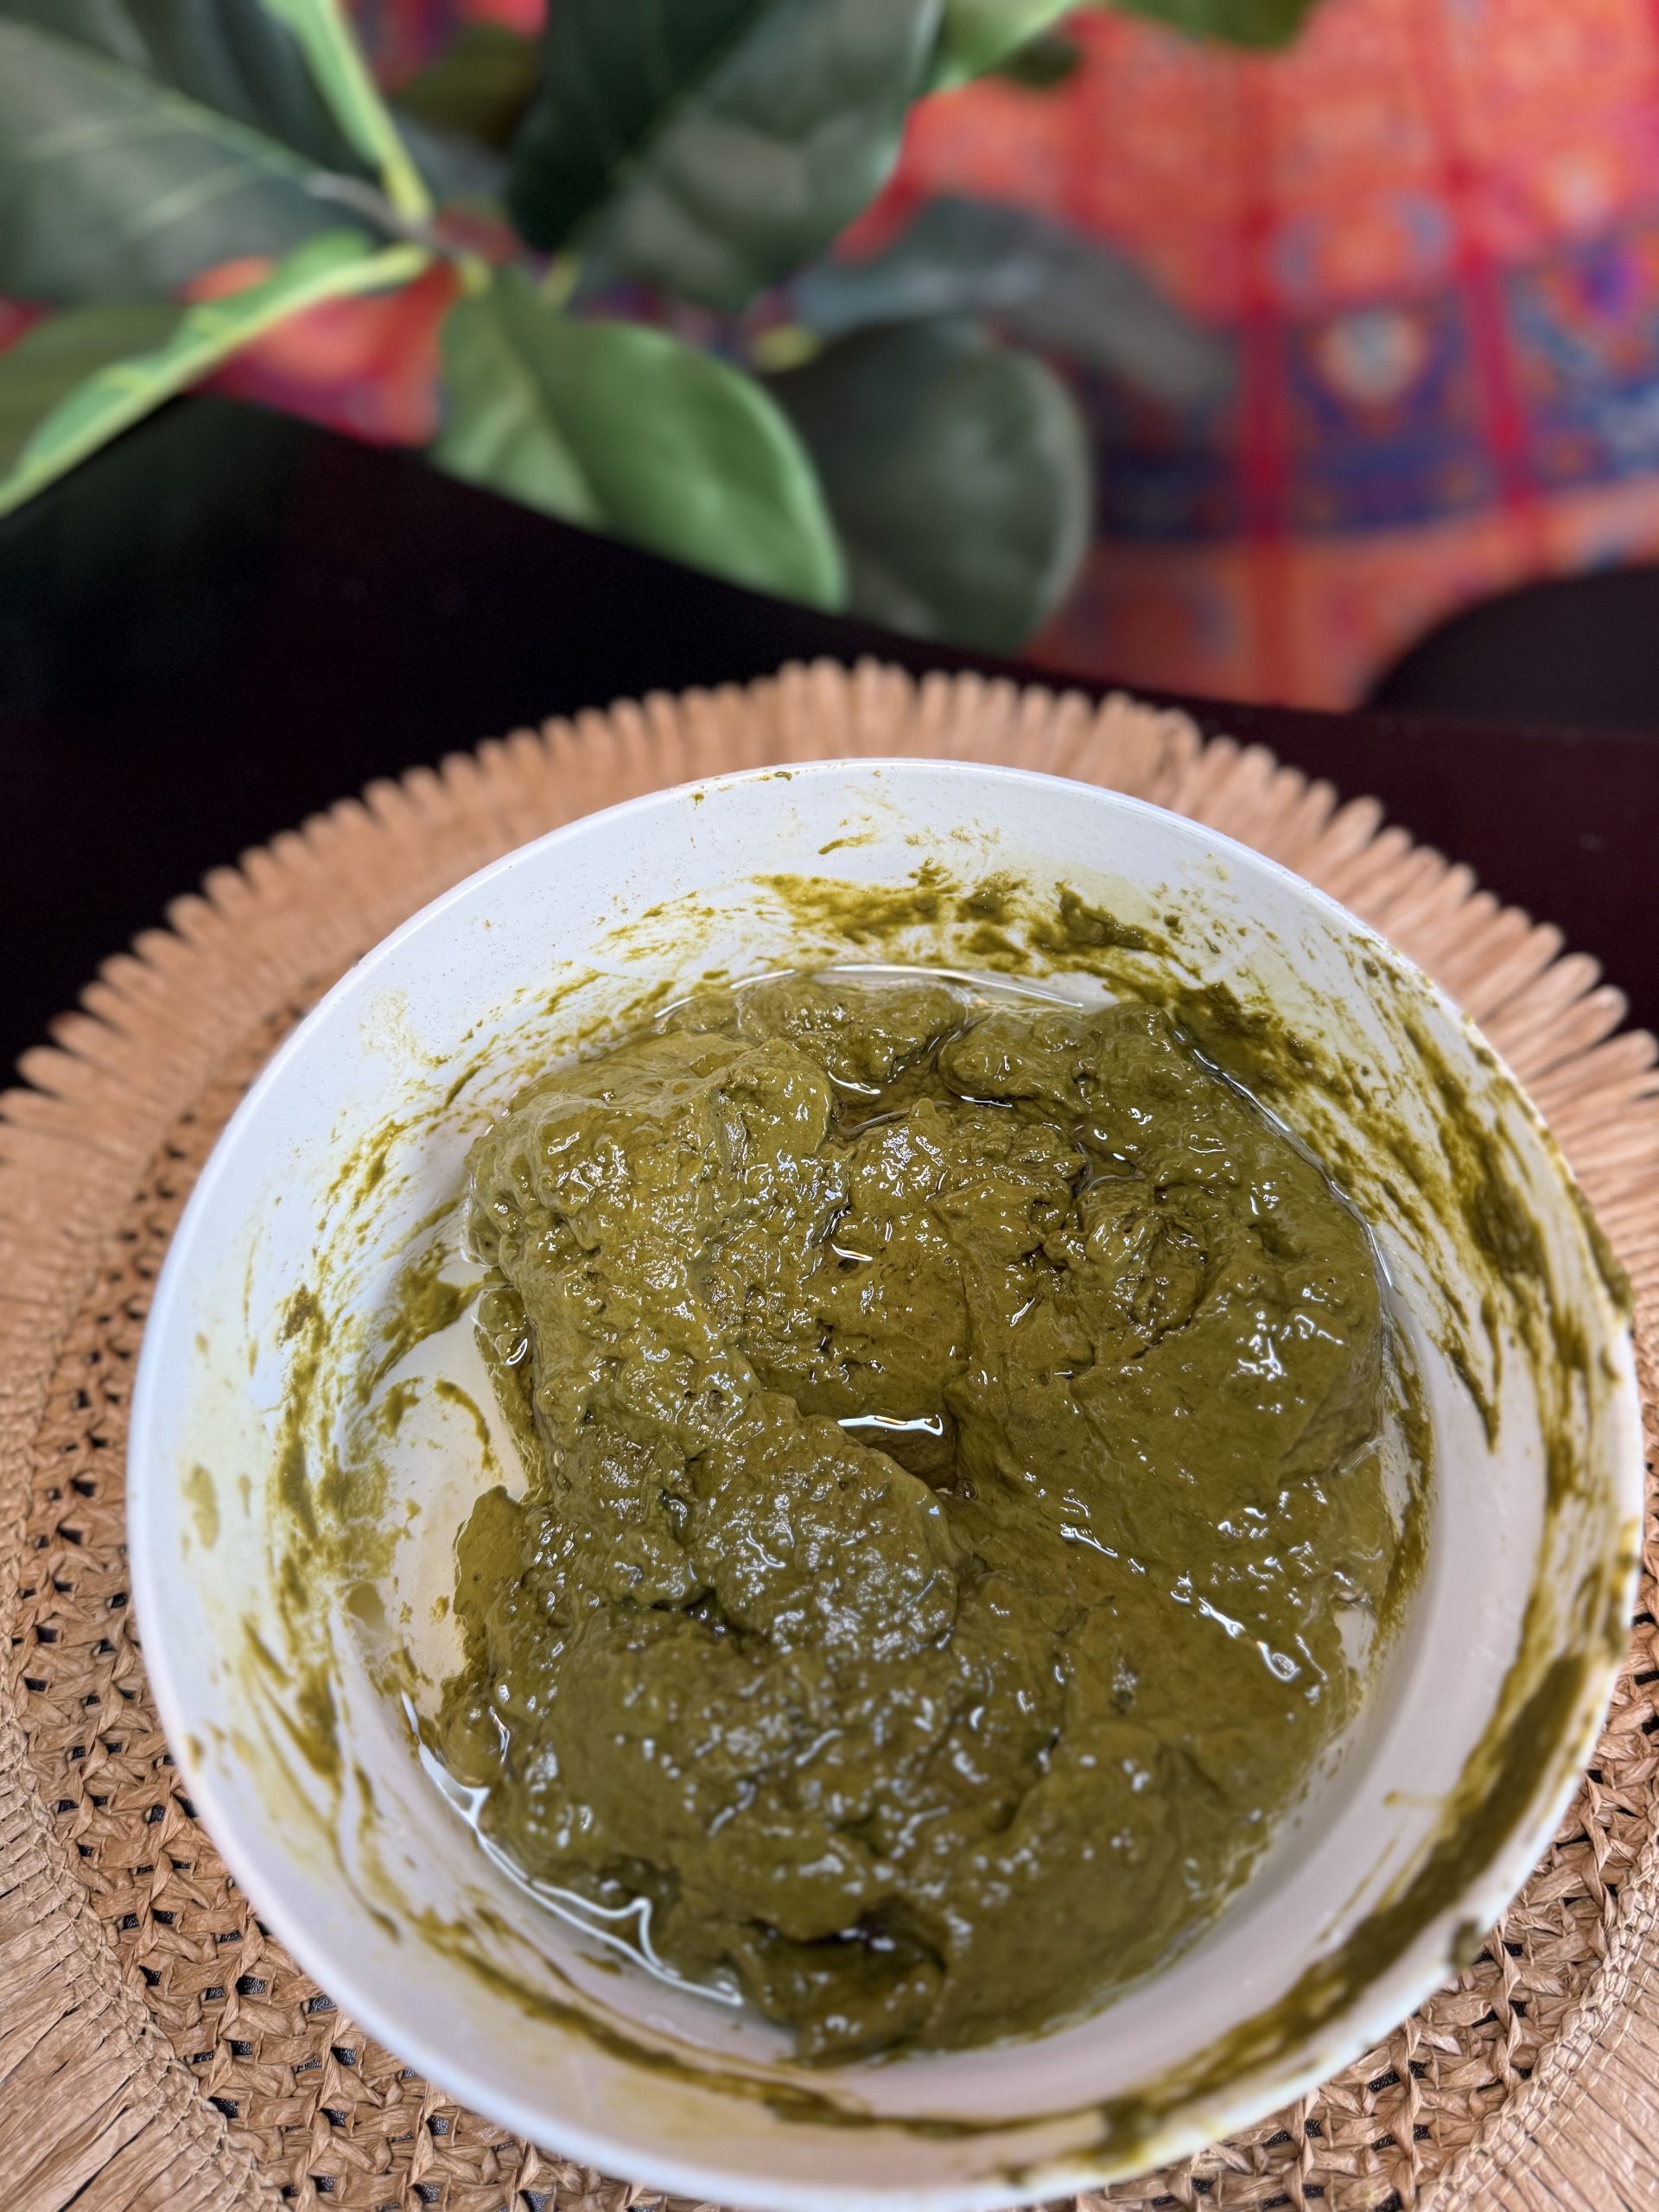
Add 30ml of essential oils to the mixture. Some of the best essential oils for henna include:
- Eucalyptus oil
- Lavender oil
- Cajeput oil
- Or A combination of all three
These terpene-rich essential oils help enhance dye release and produce darker, richer henna stains.
Mix thoroughly until all ingredients are fully incorporated.
Step 4: Allow the Henna to Release Dye
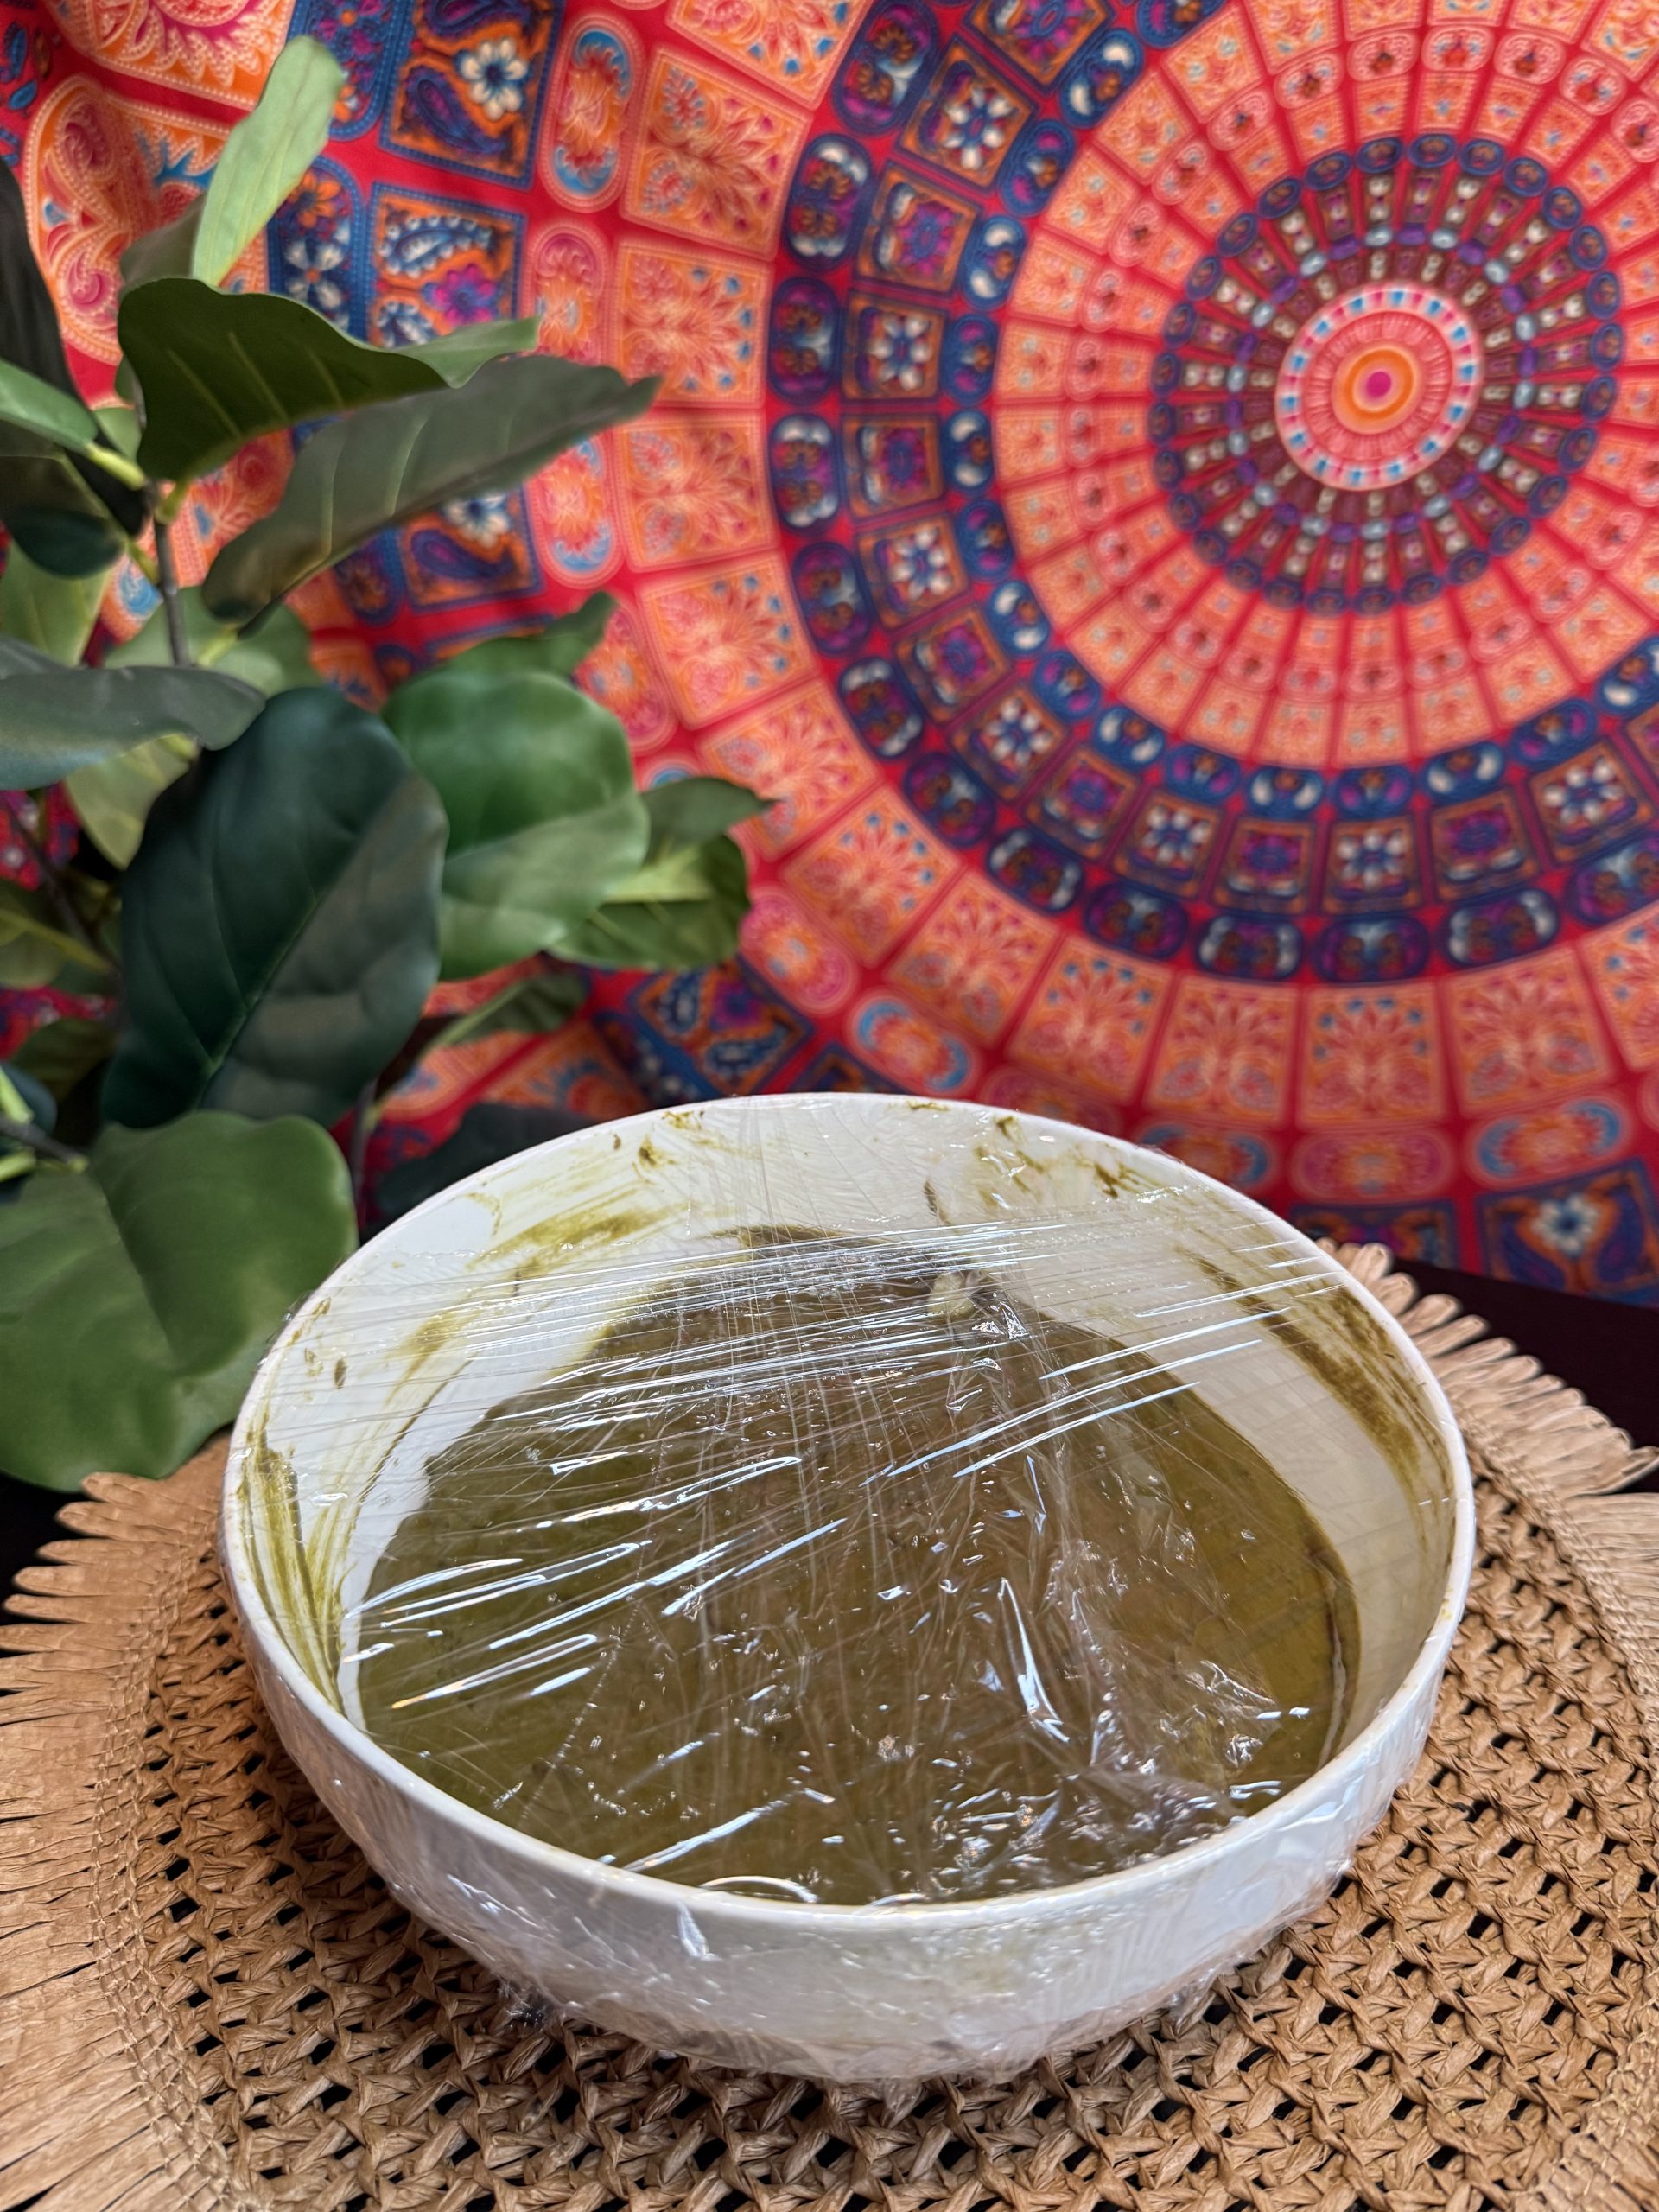
Cover the bowl tightly and place it in a warm area for 6–10 hours.
During this time, the henna releases its natural dye molecules, which is a crucial step for achieving beautiful and long-lasting results.
Step 5: Blend and Strain the Henna Paste
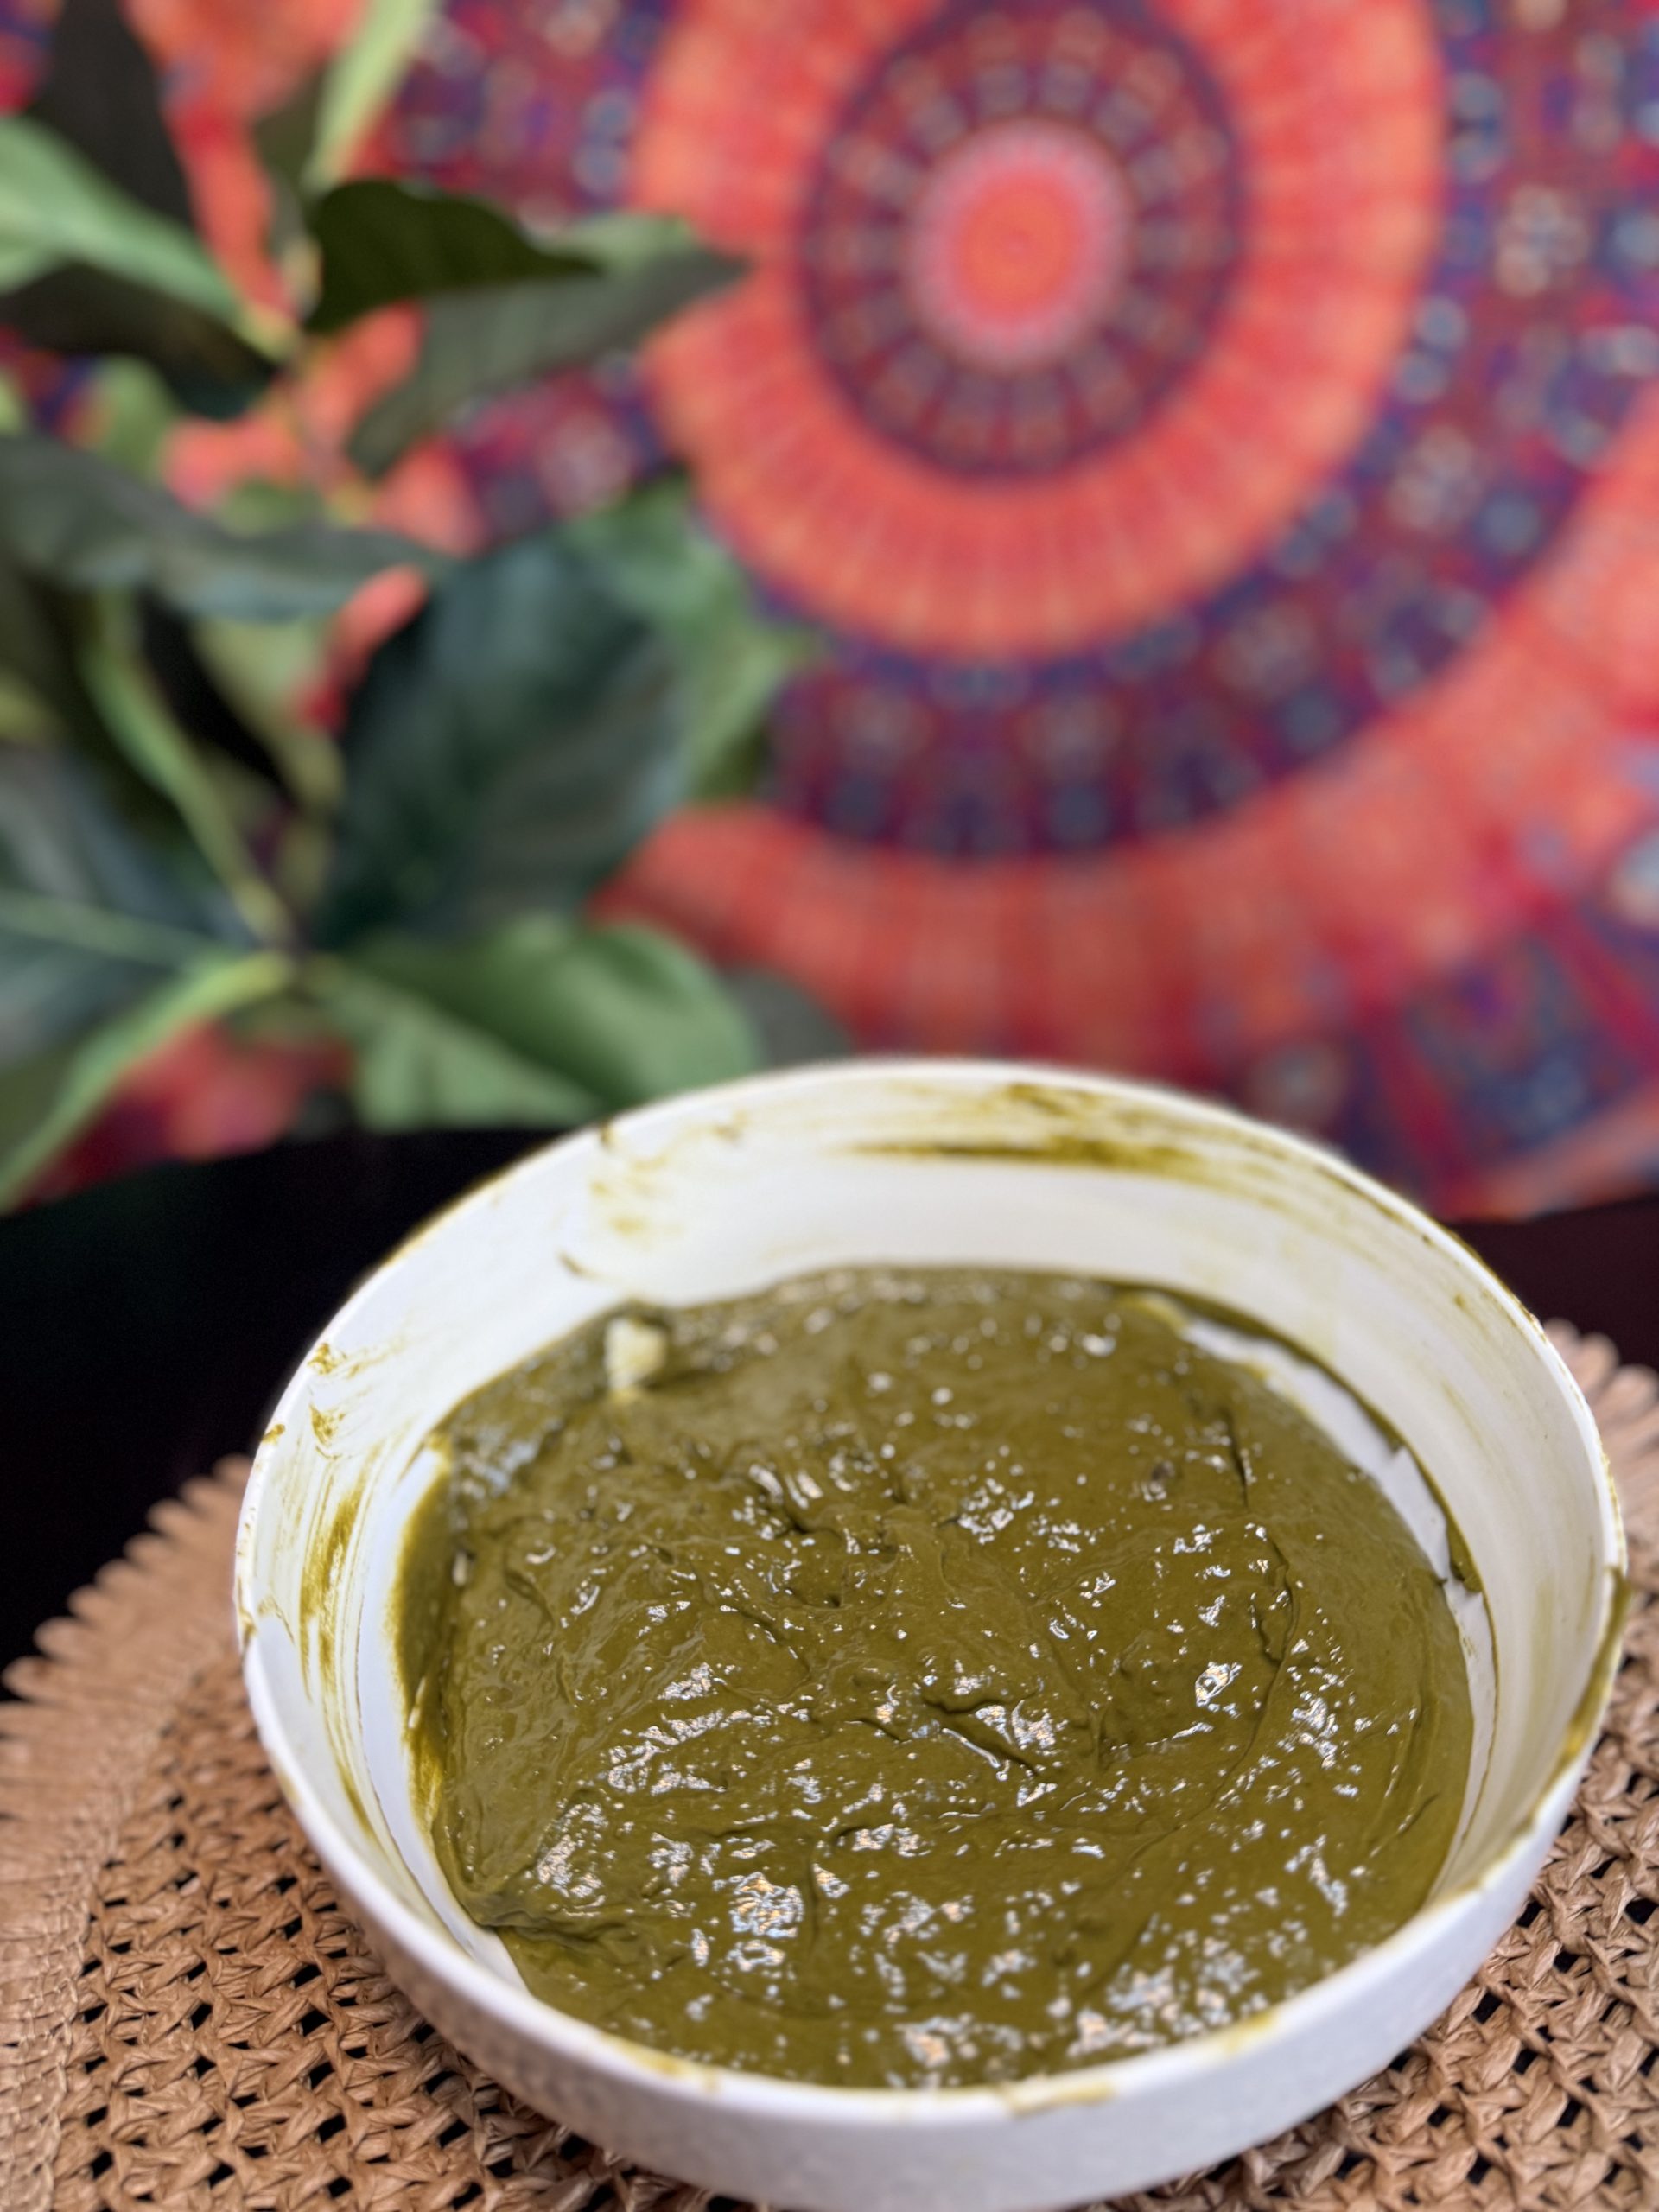
Once the dye release process is complete:
- Blend the henna paste until smooth and creamy.
- Strain the paste through a stocking, nylon, or fine mesh material.
Straining removes any remaining particles and creates an ultra-smooth paste that flows easily through henna cones without clogging.
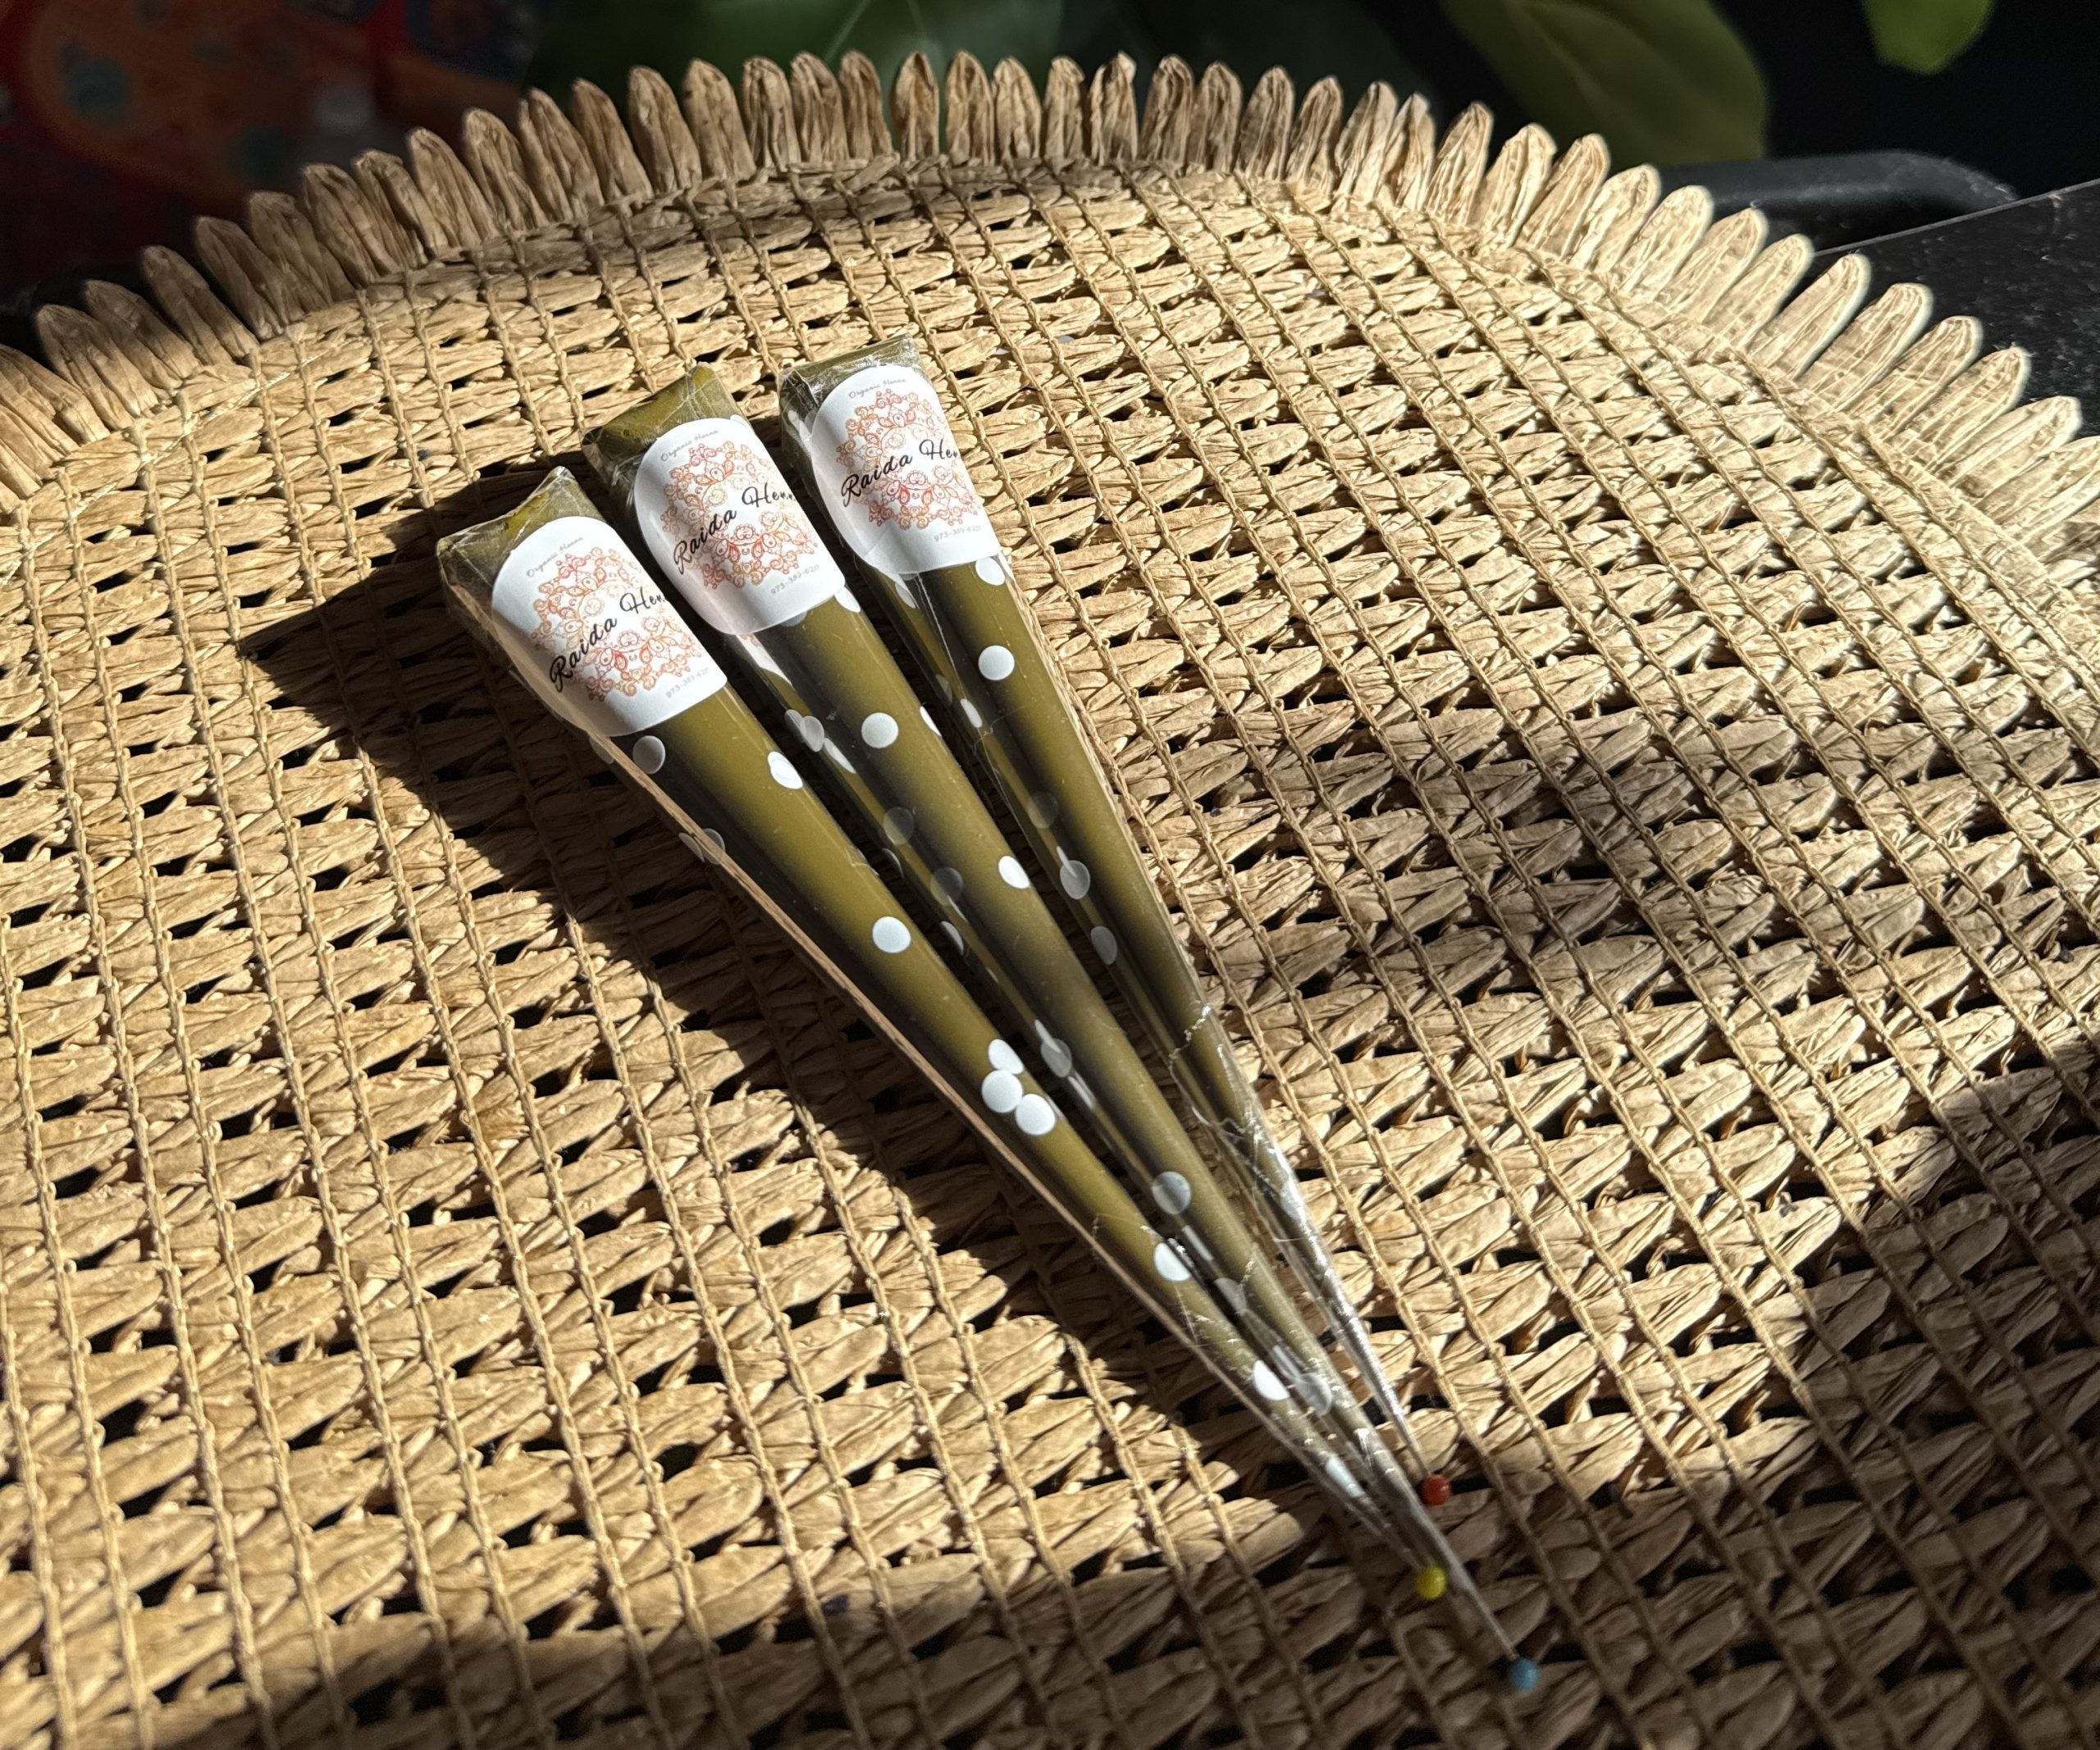
Step 6: Fill Your Henna Cones
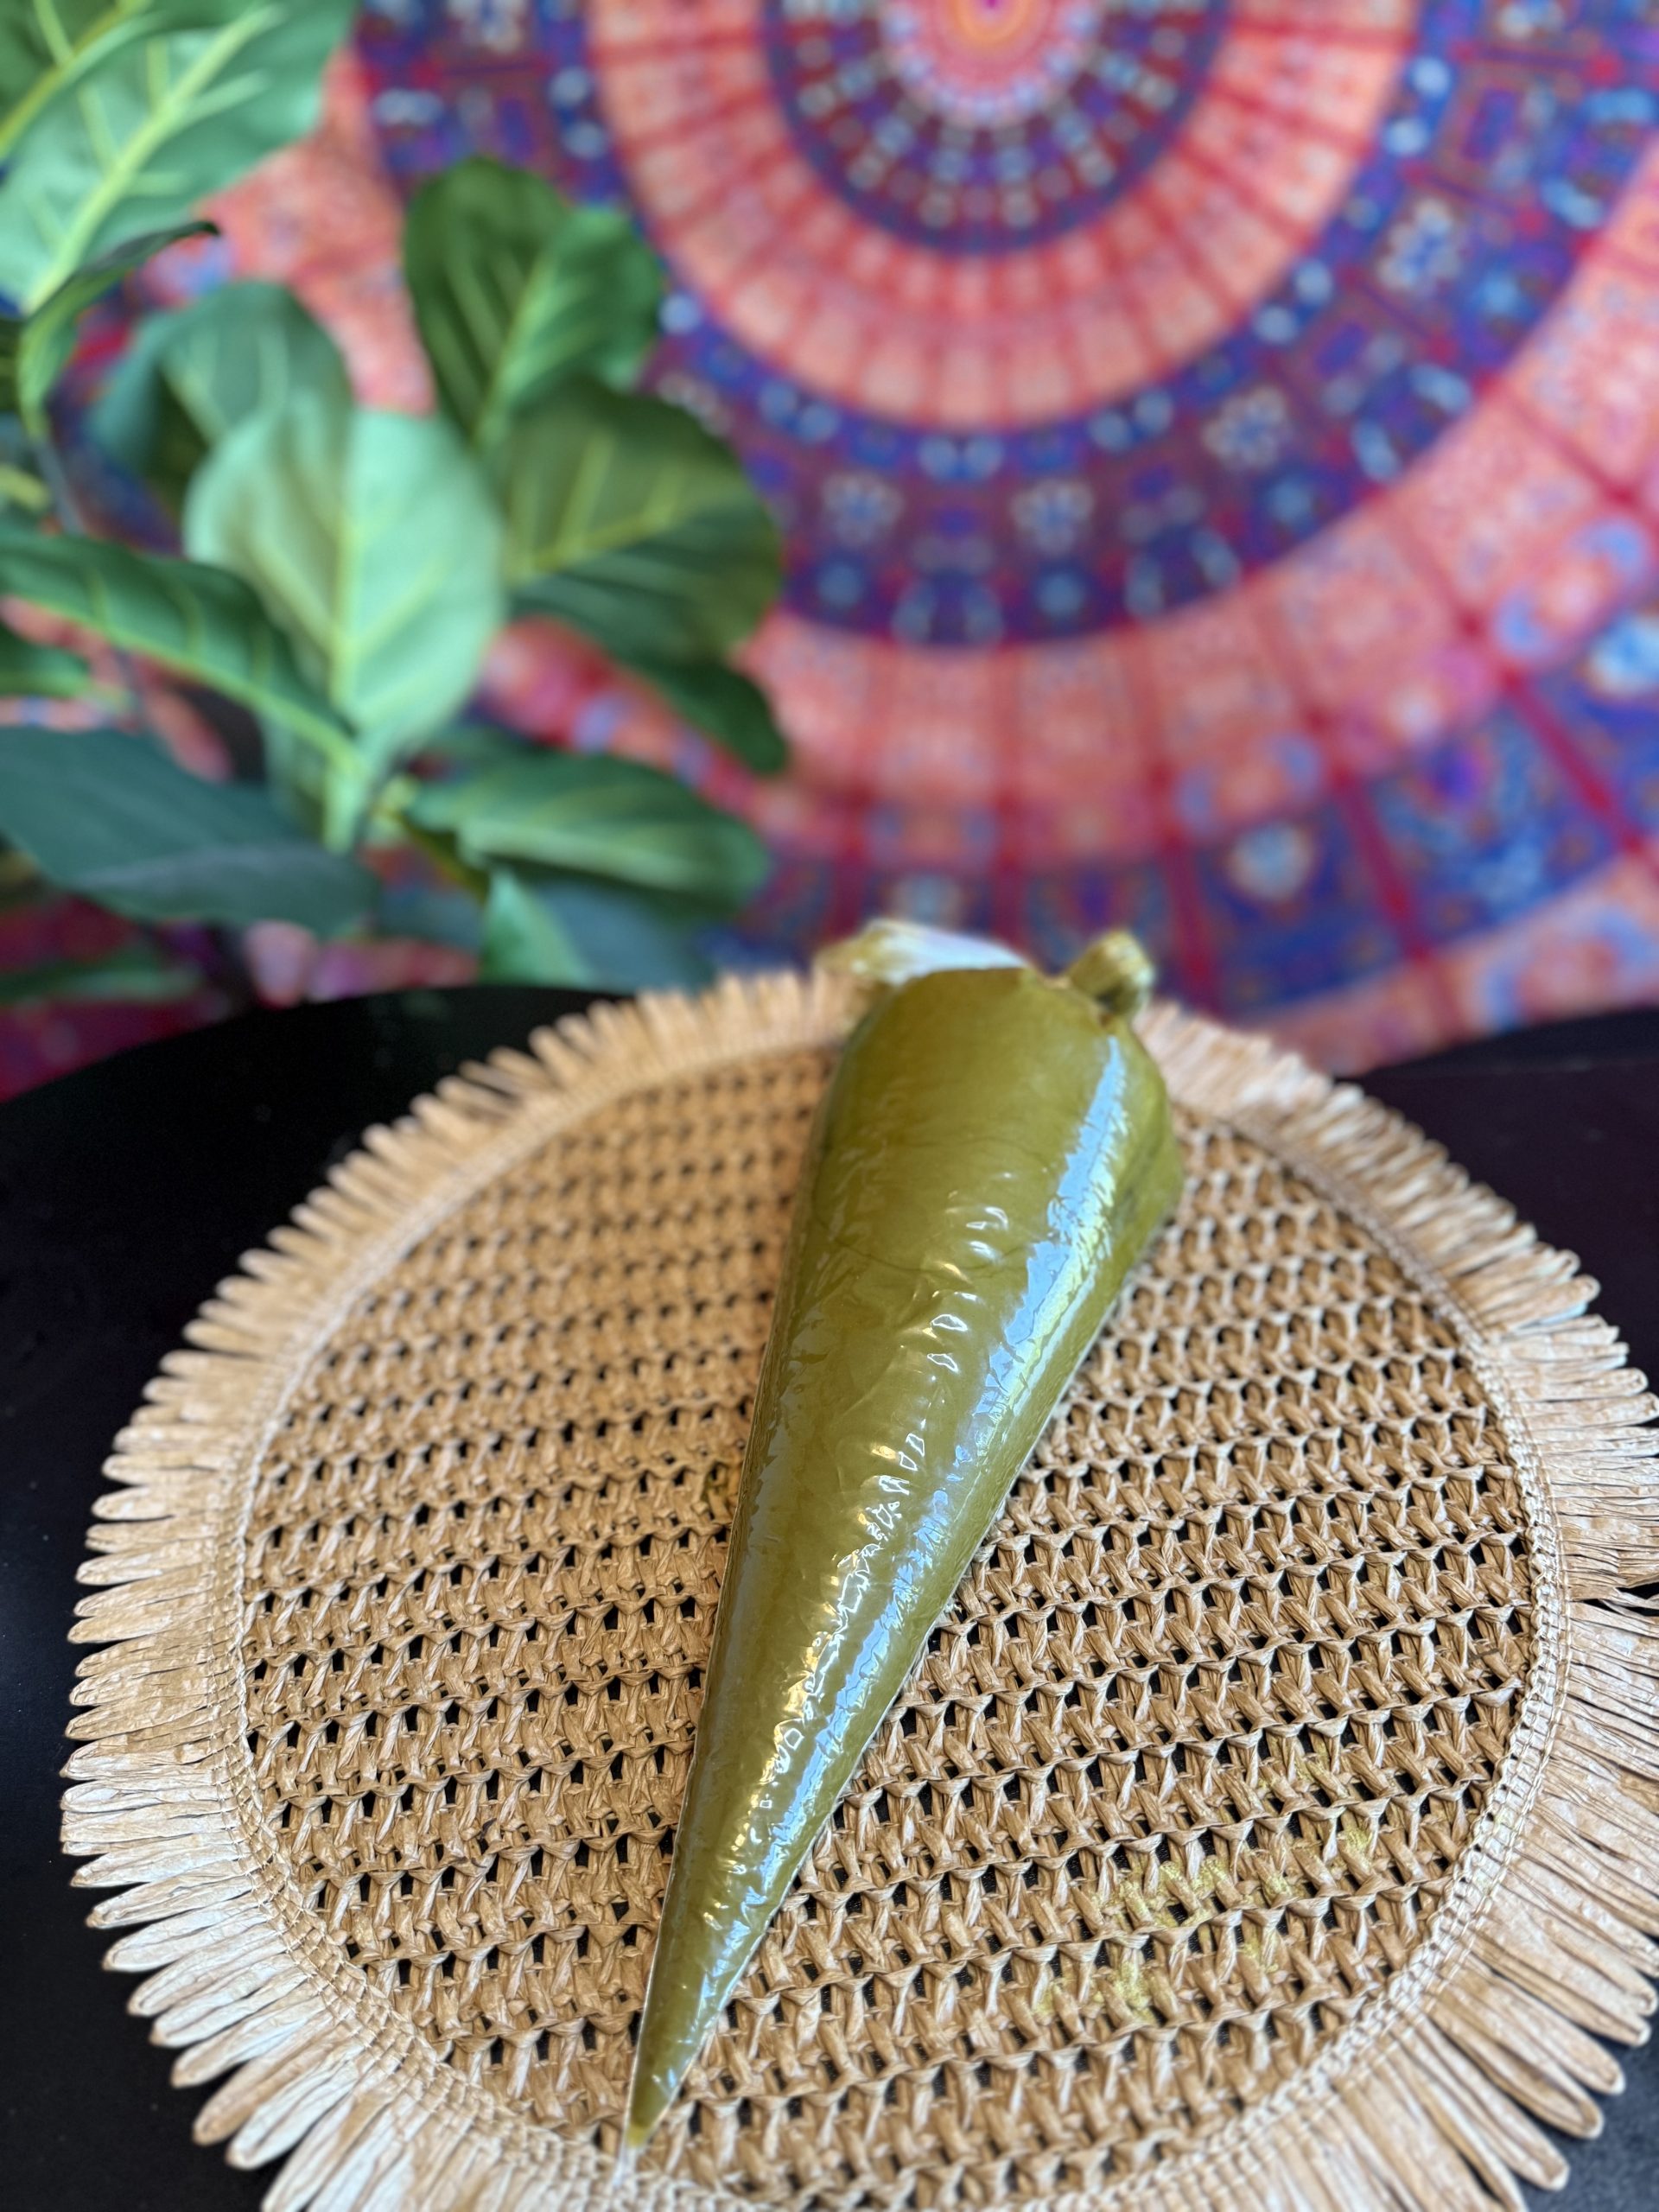
Transfer the strained henna paste into large piping bags before filling and rolling your henna cones.
Properly prepared organic henna paste should have a smooth, silky consistency that’s perfect for intricate bridal henna and detailed designs.
Storage Tips for Homemade Henna Paste
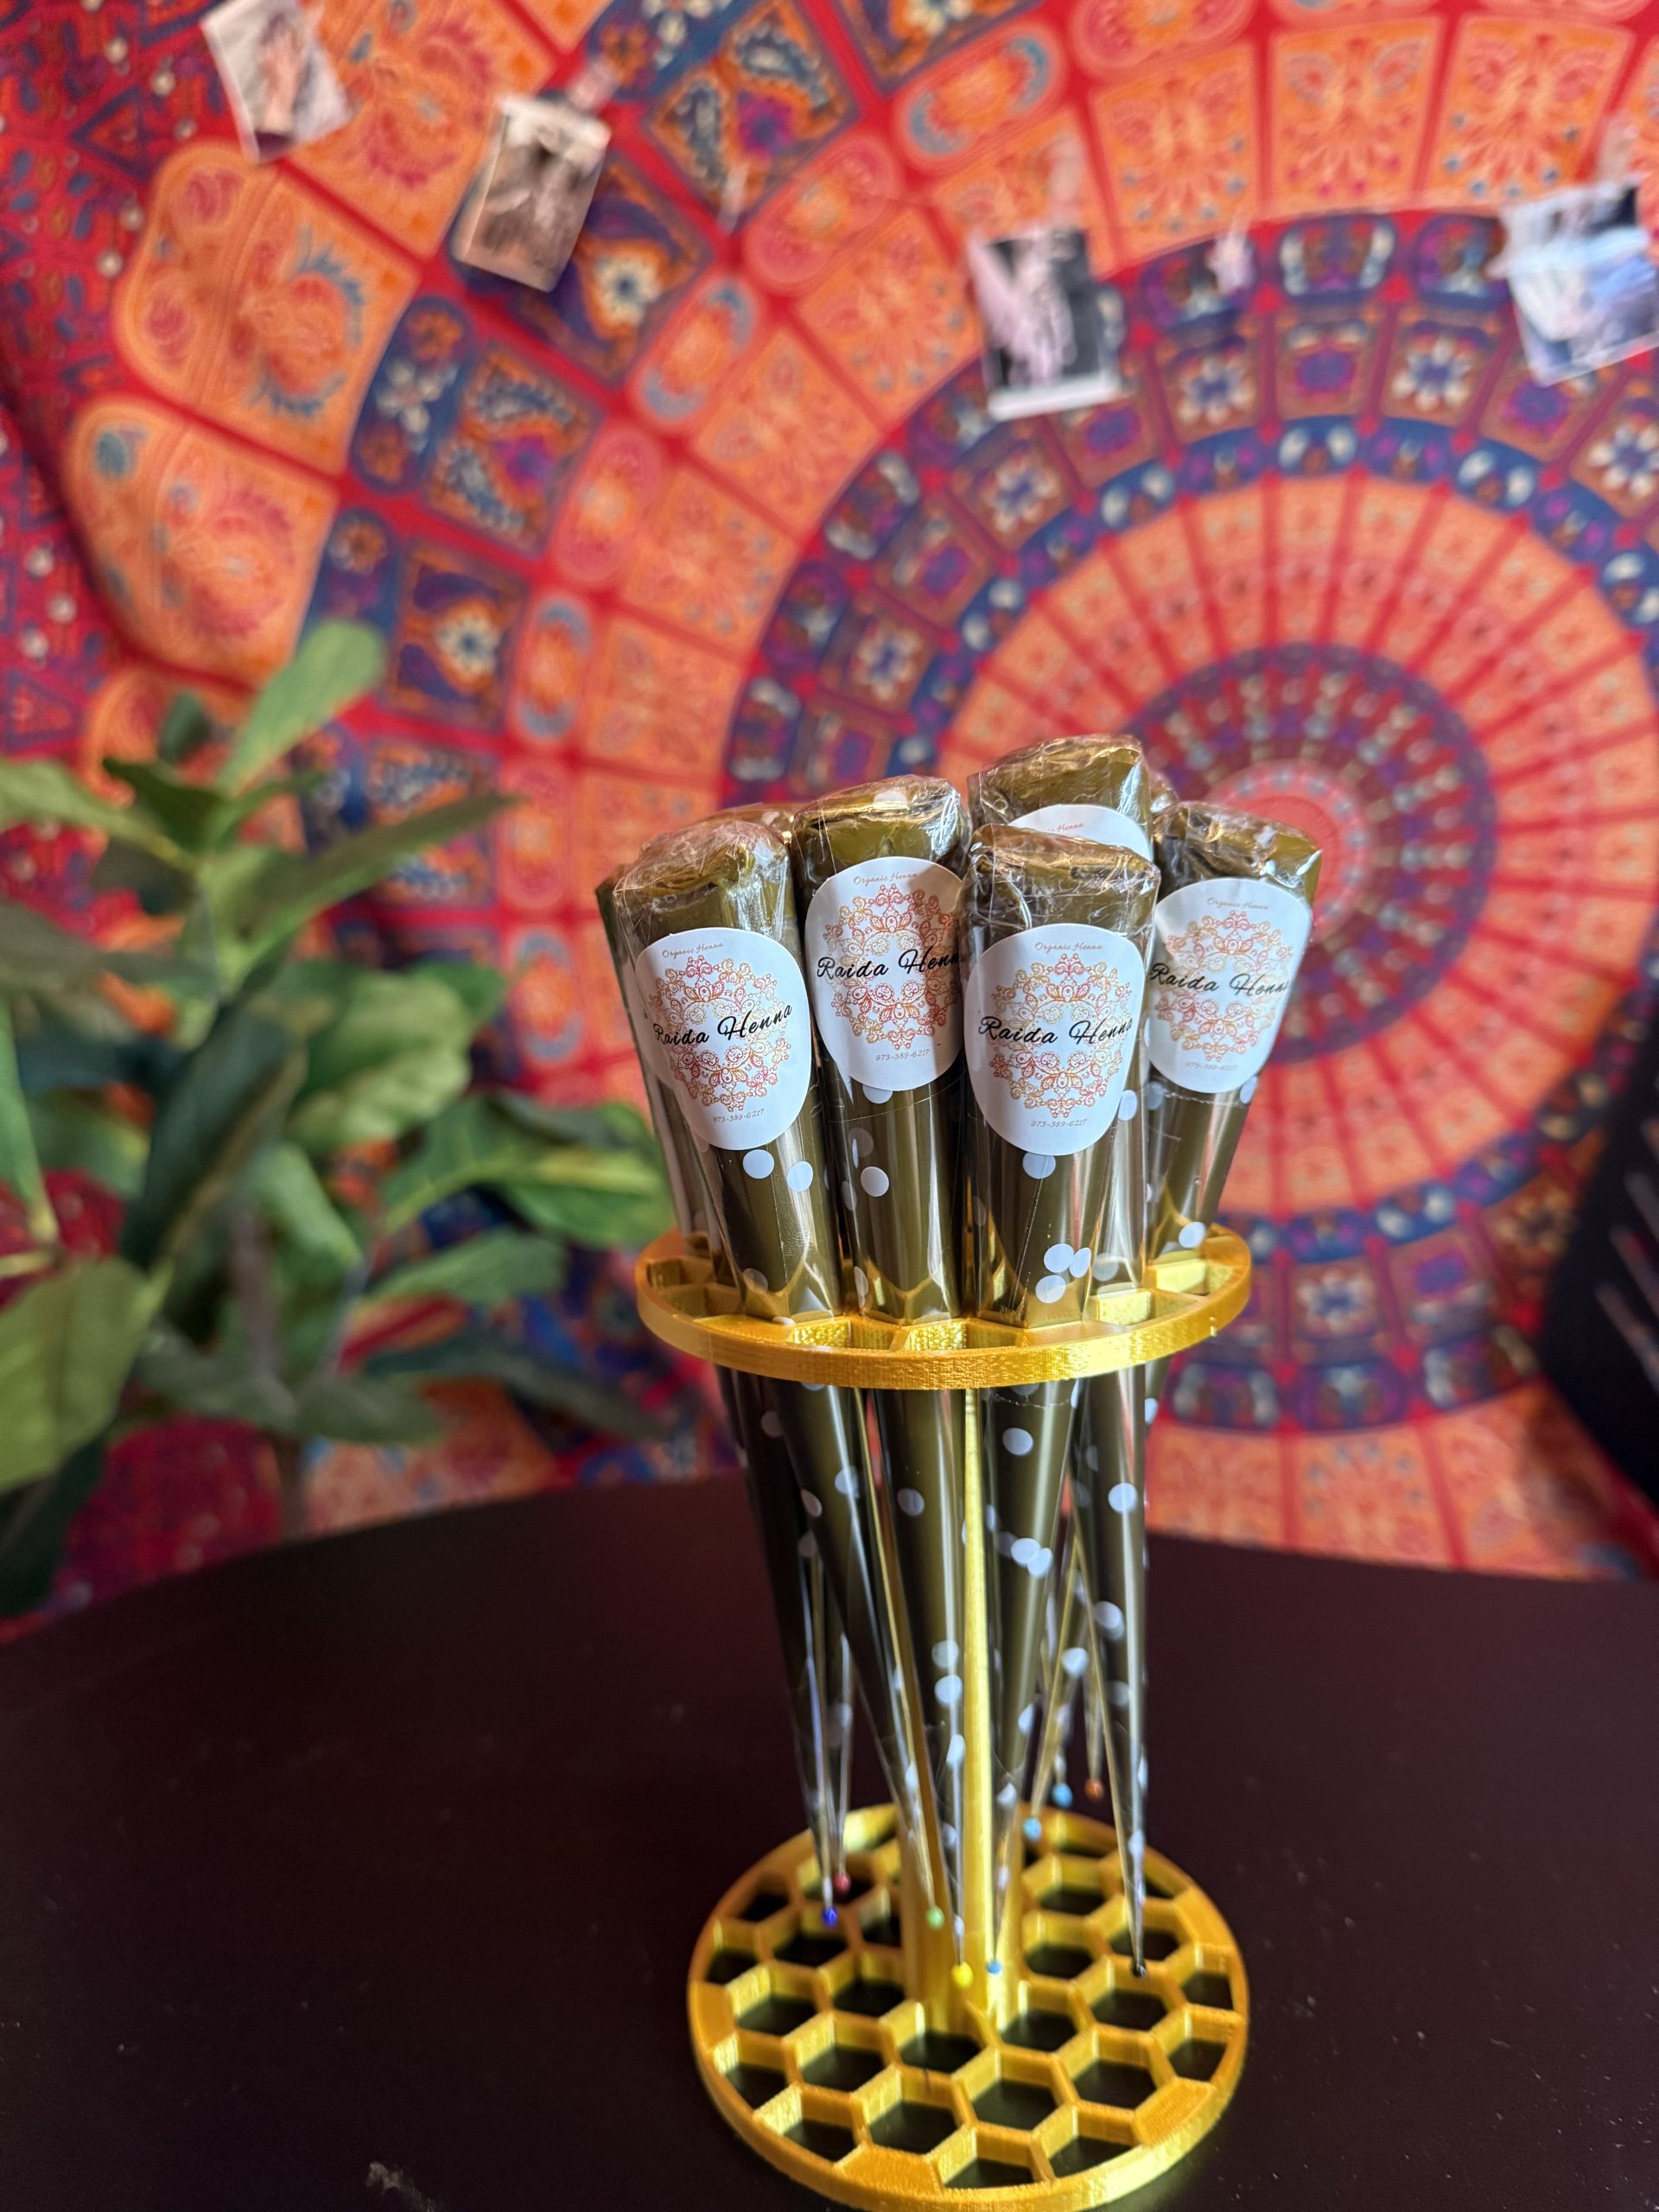
Fresh organic henna paste is best used immediately. However, if you are not using it right away:
- Store filled henna cones in the freezer.
- Frozen henna cones can last for several months when stored properly.
- Thaw only the amount needed before use.
Final Thoughts
Making your own organic henna paste takes time and patience, but the results are worth it. Using fresh ingredients, high-quality henna powder, and proper dye release techniques will help you achieve smooth application, crisp lines, and beautiful dark stains.
Whether you’re creating bridal henna, party henna, or practicing your artistry, mastering a reliable organic henna recipe is one of the best investments you can make as a henna artist.